Heat Pump Deep Cleaning – Remove the Dirt, Dust and Even Mold from your Ductless Heat ...
It happens over time, your heat pump collects dirt, debris, and dust from your home’s environment. Mix that dust with humidity and water during the AC season and you can end up with some gunk on the coil, behind the fan and even on the louvers of your ductless heat pump.
There was a recent article published by CBC.ca that gave some context to the extreme of this situation, citing a woman’s heat pump actually developed black mold inside which negatively affected her and her children in the home.
The solution to all of these problems? A Ductless Heat Pump Deep Clean!
Watch a short demo video of us cleaning a homeowner’s ductless heat pump below.
What’s involved in a deep clean?
Let’s take a look.
The first step during a deep clean is removing the front cover from your indoor ductless heat pump unit. We then apply our custom bib over the top and bottom of your machine to protect the wall and floor from water and cleaners used during the process.
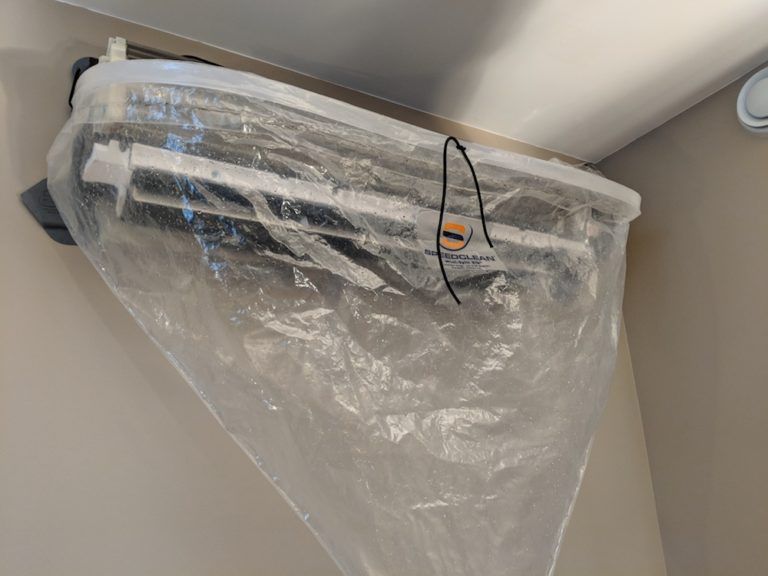
STEP #1 – Install the Plastic Protective Splash Bib
Below you can see what the bib looks like installed on this machine.
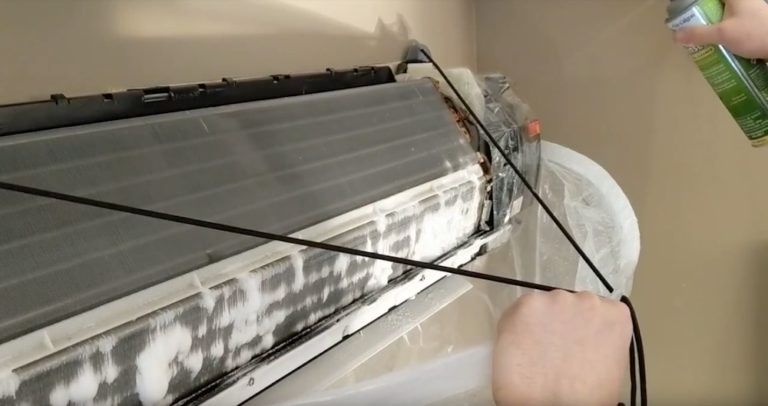
Step #2 Apply Coil Cleaner to Machine
Once the bib is installed the coil of your heat pump is sprayed with a foaming coil cleaner. This removes dirt and dust from between the narrow coil under the cover of your heat pump.
Build up of dust on your heat pump coil can drastically reduce the efficiency of the machine as the fan will not absorb as much heat as it blows over it.
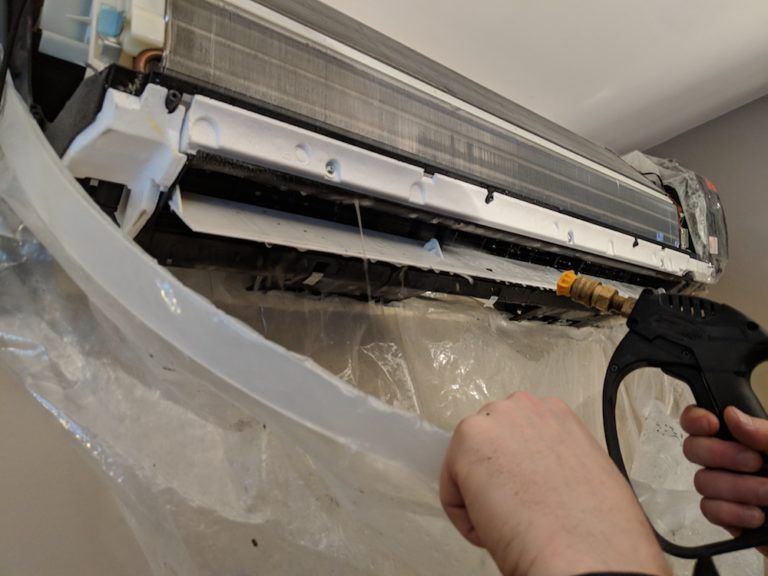
Step #3 Spray Coil to Remove Dirt & Grime
Once the cleaner has been applied and allowed to sit for a few minutes it is then sprayed off. All water that is sprayed into the machine runs out the bottom and into the plastic bib which travels down into a bucket in your home.
It’s a no mess and no fuss procedure that takes about an hour or less to complete.
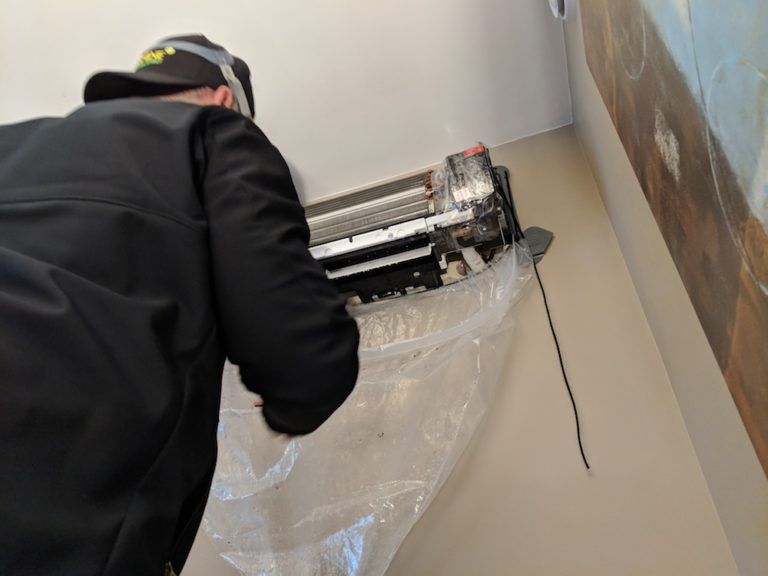
Step #4 Spray Barrel Fan and Back of Unit
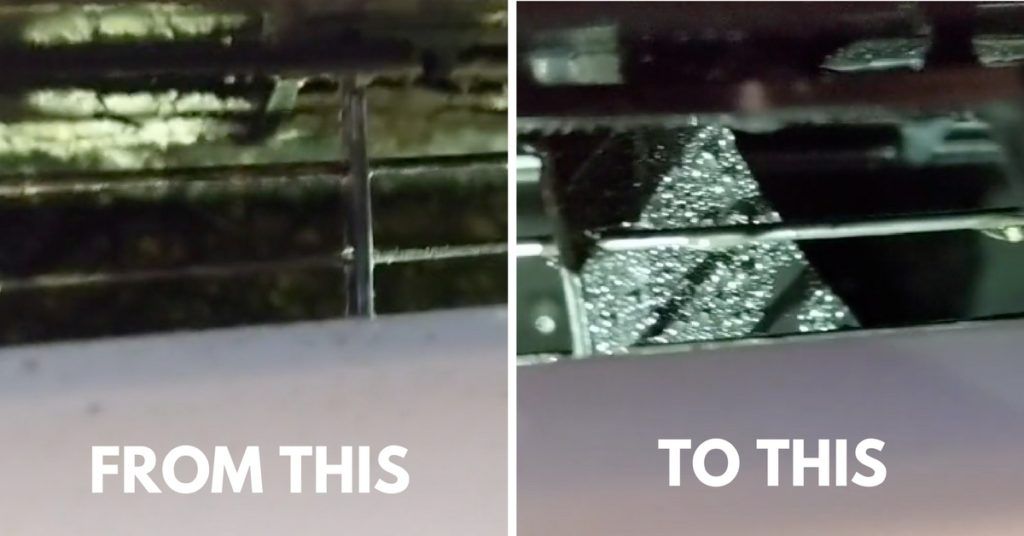
The final step is cleaning the barrel fan and behind the fan. This is where the majority of dirt and gunk resides inside your heat pump. Homeowners often shocked at the amount of dirt that comes out of their machines. They just never knew.
Watch this video for the before and after shot of this example cleaning we did at a customer home.
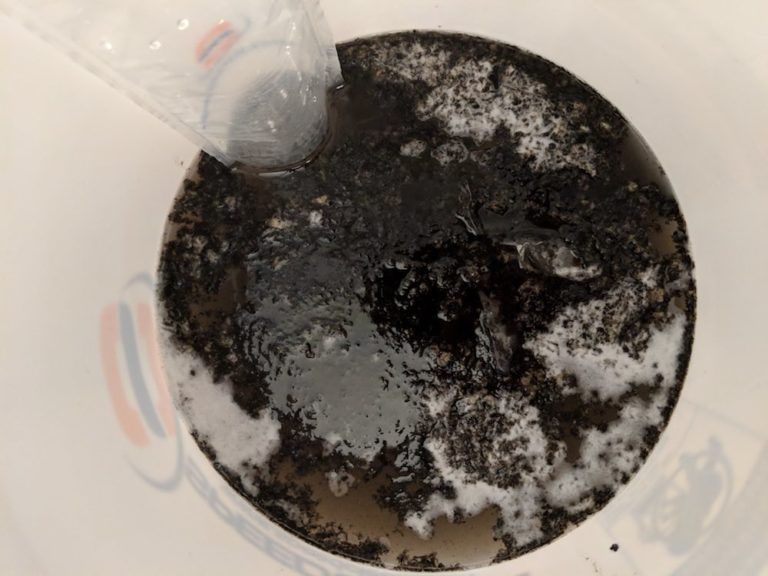
Step #5 Dispose of Dirty Water from Deep Clean
The final step before clean up and reassembly of your machine is to dispose of the dirt that came out of your heat pump.
All of the dirt and water that flowed out of your heat pump runs into a bucket on the floor. We are then able to dispose of the murky water and dirt once the job is completed.

REQUEST A FREE
In-Home Assessment for a Heat Pump System
FREE Assessments take approximately 30 minutes. After your appointment, you will know your best options for cutting heating costs and maintaining comfort in your home.
You can also book free in-home assessments online here: BOOK AN ASSESSMENT
If you require service and repair please fill out the request form below. We will contact you to book an appointment.
© 2024 - Sunshine Renewable energy · All Rights Reserved · All Logos & Trademark Belongs To Their Respective Owners
Web Design by immediac